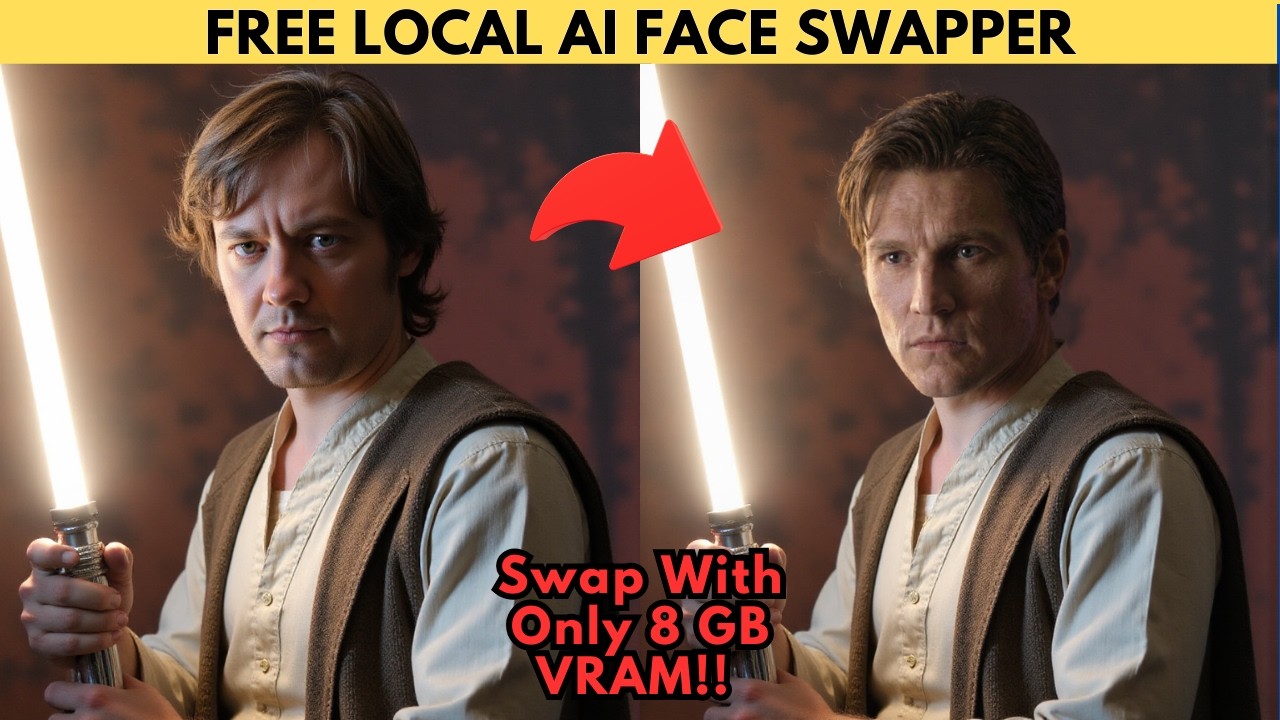
This ComfyUI workflow — originally shared by Reddit user Retro Gaza Spurs — uses the Z-Image Turbo model combined with your custom character LoRA and the SAM 3 segmentation model to seamlessly place your character's face onto any target image. It's a clean, consistent face-swapping approach that runs on as little as 8 GB VRAM.
How It Works
SAM 3 Segmentation
Automatically isolates the face and hair region in the target image with precision masking
Character LoRA
Your trained Z-Image Turbo character LoRA generates the new face in the masked area
Joy Caption
Auto-generates detailed prompts from the target image for better generation accuracy
8 GB VRAM Minimum
BF-16 Z-Image Turbo model + FP8 weight dtype setting keeps VRAM usage manageable
You need a character LoRA. This workflow requires a trained Z-Image Turbo character LoRA. Find pre-made ones on CivitAI, or train your own — check the guide on training Z-Image Turbo LoRAs with AI Toolkit.
Required Files
All files come from the Comfy-Org HuggingFace page (link in video description). Navigate to Files and Versions → split_files:
| File | Location on HuggingFace | ComfyUI Destination |
|---|---|---|
| Z-Image Turbo model (BF-16 or NVFP4) | split_files → diffusion_models | models/diffusion_models/ |
| Qwen3-4B GGUF clip model | split_files → text_encoders | models/clip/ |
| Z-Image Turbo VAE | split_files → VAE | models/vae/ |
| Your character LoRA (.safetensors) | CivitAI or self-trained | models/loras/ |
Clip model note: Use the Qwen3-4B GGUF version, not the FP8 version. The GGUF model is linked in the written guide in the video description.
Manual Setup — ComfyUI Installation
- Download the ComfyUI Portable ZIP from the ComfyUI releases page. Extract it with 7-Zip.
- Navigate into the
custom_nodesfolder, click the address bar, typecmd, press Enter. - Clone the ComfyUI Manager:
git clone https://github.com/ltdrdata/ComfyUI-Manager - Navigate back to the main ComfyUI portable directory (where the Python embedded folder is) and run the dependency install command from the written guide in the description.
- Place your downloaded model files in the correct ComfyUI folders as shown in the table above.
One-click installer available on Patreon — includes the low-VRAM version of this workflow with all downloads handled automatically.
Loading the Workflow
- Launch ComfyUI. Download the workflow JSON file (link in video description) and drag it into the ComfyUI interface.
- Red nodes will appear — open Manager → Install Missing Nodes and install each one, then restart ComfyUI.
- After restart, verify the workflow has no red nodes.
Configuring the Workflow
The workflow is split into two sections:
Top Section — Model Loaders and SAM 3 Configuration
- Check the CLIP loader node — ensure it points to your Qwen3-4B GGUF clip model.
- Check the VAE loader nodes — the VAE appears in three different places in this workflow. Verify all three are correct.
- Leave SAM 3 settings at their defaults — they're well-optimized. SAM 3 will auto-download on the first run.
Bottom Section — Image Input and Generation
- Upload your target image — the image whose face you want to replace.
- In the Model Loader node, select your Z-Image Turbo diffusion model. Set weight dtype to FP8 to reduce VRAM usage.
- In the LoRA Loader, select your character LoRA.
- Review the Joy Caption node settings — toggle the true/false options for lighting, camera angles, and watermarks as needed. The Joy Caption model will auto-download on first run (use the 4-bit quantized version to save ~11 GB vs. the full precision model).
- After Joy Caption generates a prompt, add your character's trigger word (and any missing details) in the "add important extra info here" node.
Joy Caption model size: The standard Joy Caption model is ~15 GB. Use the 4-bit quantized version to save significant storage and VRAM. The link is in the written guide.
Running the Generation
- Click Run. The first run downloads SAM 3 and Joy Caption automatically — this takes longer than subsequent runs.
- Watch the preview nodes during generation — they show the segmentation mask in real-time so you can see exactly which areas are being processed.
- Subsequent runs typically take 30 seconds to a few minutes depending on your hardware.
Tips for Best Results
- Set weight dtype to FP8 in the model loader to reduce VRAM requirements significantly.
- Check all three VAE loader nodes — it's easy to miss one, leading to errors or incorrect outputs.
- Use the Qwen3-4B GGUF clip model, not the FP8 version — the GGUF version is what the workflow was designed for.
- Always add your trigger word in the extra info node — Joy Caption won't include it automatically.
- Target images with clear, well-lit faces produce the best segmentation and face swap results.
- On 8 GB VRAM setups, the BF-16 model is the minimum — lower than 8 GB requires the NVFP4 variant.
📦 Want to skip the setup?
The Local Lab offers pre-configured AI installer packages so you can get running in minutes, not hours.
Get the Installer →